Introduction to Canceling PayPal Payments
Sometimes, life throws us a curveball, and we need to pull back a PayPal payment quicker than a cat on a hot tin roof. Whether it’s because you sent money to the wrong person, jumped the gun on a purchase, or just had a change of heart, there are a few tricks up your sleeve to manage these transactions.
Reasons you might need to cancel:
Accidental payments: Maybe you typed in one too many zeros or sent money to the wrong email address. It happens to the best of us!
Fraudulent transactions: If your account was compromised, acting fast is crucial.
Changed your mind: Buyer’s remorse? If the transaction hasn’t cleared yet, you might be in luck.
By grasping the reins early, especially while the payment is still pending or unclaimed, you stand a good chance to reverse your decision and keep your peace of mind.
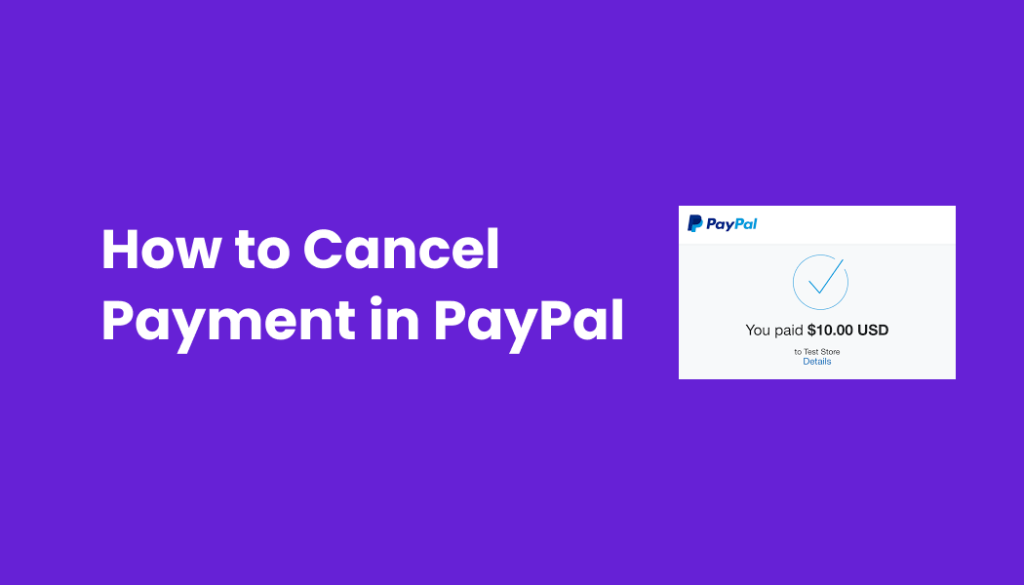
How to Cancel a PayPal Payment Online
Canceling a PayPal payment online is easier than finding a parking spot at a mall on Black Friday. Here’s your step-by-step guide to navigating PayPal’s website when you need to cancel unclaimed or pending payments.
What is an unclaimed or pending payment? Well, imagine sending a party invite but not getting a RSVP. If the recipient hasn’t accepted or claimed the payment, it hangs in limbo, marked as ‘pending’ or ‘unclaimed’.
Steps to Cancel Online:
Log in to Your Account: First things first, hop onto the PayPal website and log into your dashboard. It’s your command center for all things money!
Find the Activity Tab: Once you’re in, look for the ‘Activity’ tab. This is where all your recent transactions are chilling.
Select the Payment: Scan through the list and click on the payment you want to send packing.
Check the Status: If it’s still pending or unclaimed, you’ll see a ‘Cancel’ link under the payment details.
Confirm Your Action: Click ‘Cancel’, confirm your decision, and voilà! It’s like it never even happened.
Canceling a PayPal Payment Through the App

If you’re always on the go, canceling a PayPal payment via their mobile app is as easy as pie. Whether you’re team iOS or Android, these steps will guide you through the process.
Steps to Cancel on Mobile:
Open the PayPal App: Grab your smartphone and fire up the PayPal app. It’s your financial Swiss Army knife!
Tap on ‘Activity’: Just like on the website, your transaction history is under ‘Activity’. Tap it to see where your money’s been heading.
Select the Payment: Find the transaction you wish to dissolve. If it’s still pending or unclaimed, you’re in luck.
Tap ‘Cancel Payment’: If available, you’ll see an option to cancel the payment. Tap it and breathe easy.
Confirm Your Decision: Confirm that you want to cancel, and you’re all set. It’s like hitting the undo button on your payment.
Navigating the PayPal app to cancel a payment is a breeze, ensuring you’re never stuck with a transaction you regret. Just remember, timing is everything!
How to Manage Pre-Approved PayPal Payments
Sometimes, managing your finances means knowing how to stop them from running on autopilot. Here’s how you can find and cancel pre-approved or automatic payments within your PayPal account settings.
Finding and Canceling Pre-Approved Payments:
Access Settings: Start by clicking the gear icon on the top right of your PayPal dashboard. It’s like the control room for your account settings.
Payments Menu: Navigate to the ‘Payments’ section. Here, you’ll find the ‘Manage Automatic Payments’ option, which lists all your pre-approved payments.
Review the List: Go through the list and identify any subscriptions or automatic payments you no longer need or want.
Cancel as Needed: Click on the payment details for more information. If you decide to cancel, you’ll find the ‘Cancel’ option there. Confirm your decision to stop future payments.
By keeping an eye on and managing these automatic deductions, you ensure that only the subscriptions you truly want get the green light.
Different Types of PayPal Payments
Navigating the various kinds of PayPal transactions can feel like learning a new language. Whether it’s instant, pending, or recurring, each type plays a unique role in how you manage your money.
Exploring the Payment Types:
Instant Payments: These are the speed demons of the PayPal world. Instant payments are usually completed within moments, ideal when time is of the essence.
Pending or Unclaimed Payments: These payments are on hold, either because they haven’t been accepted yet or due to issues like insufficient funds. They’re like waiting for a friend who’s always running late.
Recurring Payments: These are your set-it-and-forget-it types. Recurring payments are automatic transactions for subscriptions or regular bills, ensuring you never miss a payment.
Understanding these types helps you better manage your PayPal account and ensures smoother financial transactions.
How to Cancel Automatic or Recurring Payments in PayPal
Ever feel like you’re on a subscription merry-go-round? Here’s how to step off by canceling those automatic or recurring payments in PayPal.
Stopping Automatic Payments:
Log Into Your Account: First, access your PayPal account. It’s your gateway to managing your money flows.
Navigate to Settings: Hit the settings icon, usually found at the top right corner—it’s your toolbox for everything account related.
Go to Payments: Select the ‘Payments’ tab, then look for ‘Manage Pre-approved Payments’ or ‘Automatic Payments’. This section is where your recurring financial commitments live.
Find the Merchant: Browse through the list and click on the merchant whose payment you wish to stop. Each one is like a tap you need to turn off.
Cancel the Payment: There should be a ‘Cancel’ button or similar option. Click it to stop further payments. Confirm your decision to seal the deal.
By taking control of your automatic payments, you’re not just stopping unwanted charges—you’re tailoring your financial landscape to better suit your needs.
Refund Processes for PayPal Payments

Sometimes, canceling a PayPal payment isn’t on the cards because it’s already completed. But don’t worry, getting a refund is not as hard as nailing jelly to a tree—it just takes a few steps.
How to Request a Refund:
Log Into Your PayPal Account: Your first step is to access your account. Consider it your command center for money matters.
Navigate to the Activity Tab: Here, you’ll find all your transactions. It’s like your financial footprint.
Select the Transaction: Choose the payment you’d like refunded and click to view more details.
Contact the Recipient: Use the contact information provided to reach out to the seller. Be clear and polite—honey attracts more flies than vinegar!
Request a Refund: Politely ask if they can issue a refund. If they agree, they can initiate it from their end.
Follow Up: If the refund is agreed upon, keep an eye on your account to make sure it goes through.
Communicating for Refunds:
Be Courteous: Always start with a polite inquiry. You catch more flies with honey than vinegar.
Explain Clearly: State why you’re requesting a refund. Clarity can prevent any misunderstanding.
Understanding these steps ensures you can confidently approach the situation when a payment can’t be canceled but a refund is necessary.
Using PayPal’s Resolution Center for Disputes
When a refund isn’t easily secured directly from the recipient, PayPal’s Resolution Center comes to the rescue like a sheriff in a wild west movie. It’s designed to help you resolve disputes effectively and regain your peace of mind.
Navigating to the Resolution Center:
Access Your PayPal Account: Start by logging in. Your account is the gateway to resolving disputes.
Find the Resolution Center: Look for the Resolution Center link, usually found in the footer or under the ‘Help’ section. It’s your first stop for filing disputes.
Open a Dispute: Once you’re in, you can open a dispute for transactions that haven’t gone as planned. Whether it’s for an item that didn’t arrive or wasn’t as described, PayPal is there to mediate.
Communicate Through PayPal: Use the platform to communicate with the seller. PayPal ensures that all conversations are recorded, which can be crucial for resolving the dispute.
Follow the Steps: PayPal will guide you through the steps needed to attempt a resolution. If necessary, they may escalate the dispute to a claim, stepping in to make a final decision.
Tips for Using the Resolution Center:
Provide All Necessary Information: Be detailed and honest in your explanations to ensure a fair assessment.
Stay Engaged: Respond to any requests from PayPal or the other party promptly.
By understanding how to utilize the Resolution Center, you arm yourself with a powerful tool to handle disagreements and protect your interests.
FAQs on Canceling PayPal Payments
When it comes to handling your dough on PayPal, questions can pop up like toast on a busy morning. Here are some hot FAQs with equally hot answers.
FAQ 1: What are the conditions under which I can cancel a PayPal payment?
Answer: You can cancel a PayPal payment if it’s still in a pending or unclaimed status. This means the recipient hasn’t yet accepted or collected the money.
FAQ 2: How long do I have to cancel a pending PayPal payment?
Answer: The window to cancel is typically until the payment is claimed. If the payment goes unclaimed for 30 days, it will automatically be refunded to your account.
FAQ 3: What should I do if I cannot cancel a payment and need a refund?
Answer: Contact the recipient directly to request a refund. If that doesn’t work, you can escalate the issue to PayPal’s Resolution Center for further assistance.
FAQ 4: Can I cancel a payment sent to someone who hasn’t accepted it yet?
Answer: Yes, if the payment is unclaimed, you can cancel it directly from your Activity log.
FAQ 5: How do I manage automatic payments linked to my PayPal account?
Answer: Go to your account settings, find the ‘Payments’ section, and then access ‘Manage Pre-approved Payments’ to make any necessary adjustments.
Conclusion: Navigating Cancellations with Confidence
Canceling a PayPal payment doesn’t have to feel like a wild goose chase. With the right know-how and a bit of quick action, you can manage your transactions like a pro. Whether it’s through the PayPal website, using the mobile app, or handling automatic payments, you now have the tools at your fingertips to take control of your financial dealings.
Remember, the key is to act swiftly, especially with pending or unclaimed payments. Keep a close eye on your account, stay informed about your transaction statuses, and don’t hesitate to use PayPal’s Resolution Center when needed. By staying proactive, you ensure that your PayPal experience is as smooth and stress-free as possible.
Now that you’re armed with this knowledge, go forth and manage your PayPal payments with confidence!